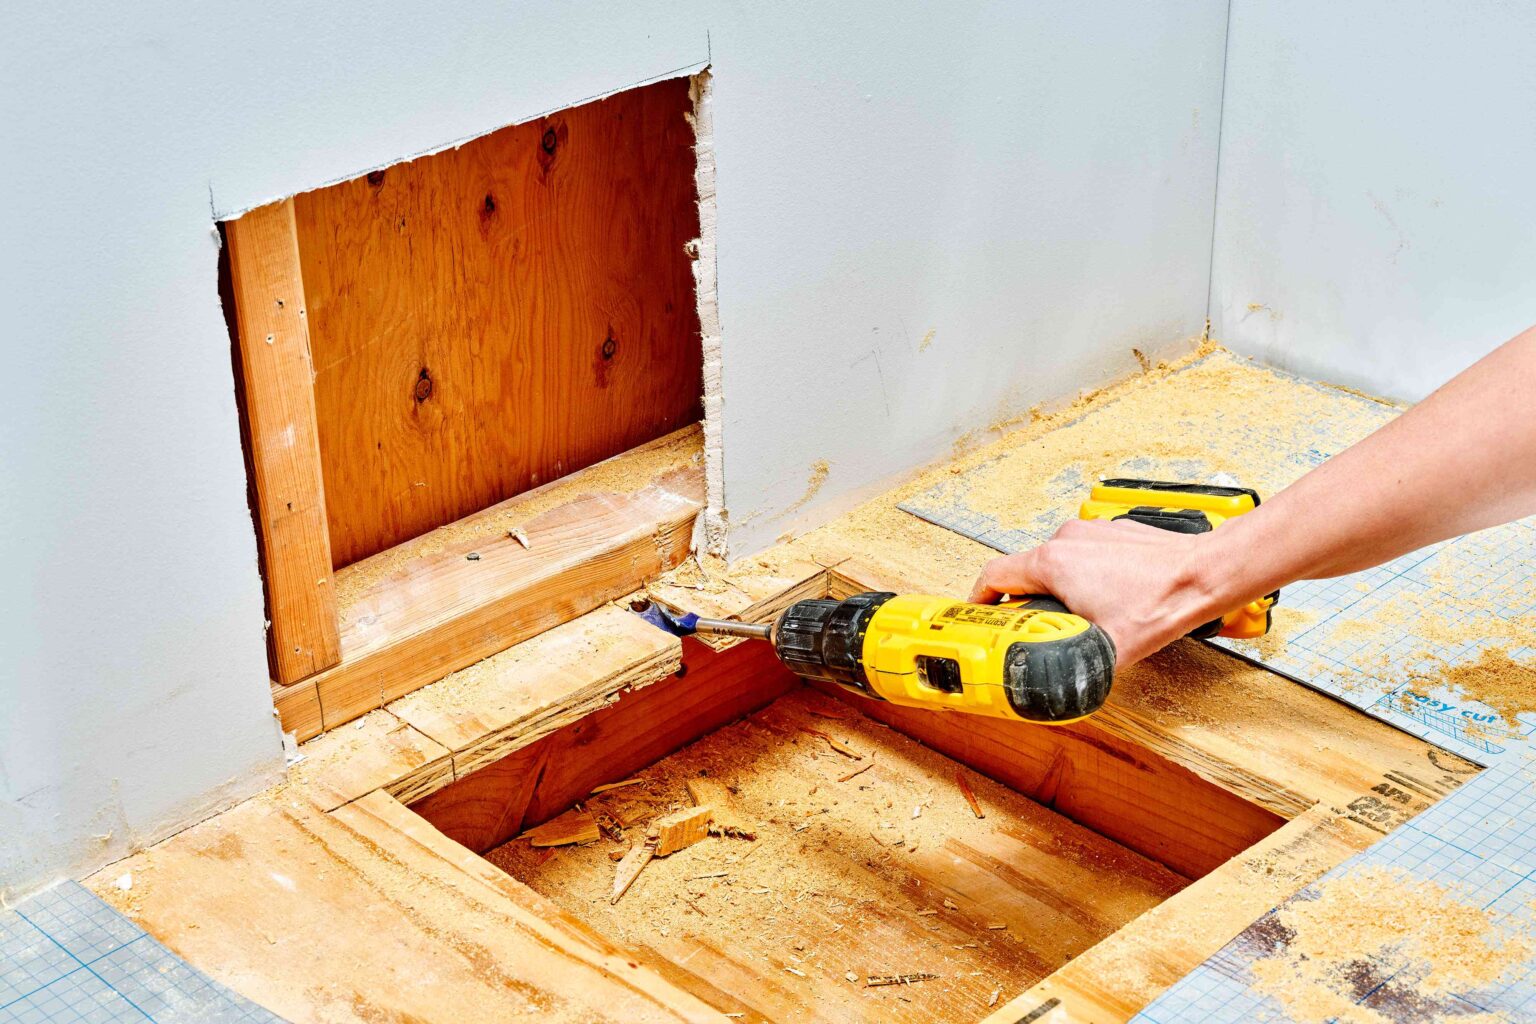
Replacing a subflooring system under a wall may become necessary if the subfloor is water-damaged or no longer structurally sound. It’s a labor and time-intensive project requiring a good grasp of construction skills. A subfloor is a solid base underneath the floor covering that you depend on for the stability of a room’s floor and walls.
Though it’s not the main support system, like beams, posts, and joists, the subfloor does its fair share. Replacing a subfloor can sometimes escalate into a more significant project, needing the help of experts if the subflooring is under an exterior or load-bearing wall. In unique instances, you can remove parts of the subfloor without taking down the wall.
Wall and Floor Basics
Walls and floors are interconnected, creating a structurally tight system. From bottom to top, the average home system will look something like this:
- Joist: A floor joist is a long, horizontal piece of wood, usually 2×8 or 2×10 inches, that holds up the flooring.
- Subfloor: The subfloor is nailed to the top of the joist. Often 19/32-inch to 1 1/8-inch thick plywood or OSB, the subfloor might run continuously across the joist, or two subfloor sections may meet on a joist.
- Underlayment: Some floors have a thin underlayment that helps to smooth the subfloor for the floor covering. Not all floors will have this.
- Floor covering: The floor covering might be laminate flooring, vinyl tile, luxury vinyl plank, or any other type of floor.
- Bottom wall plate: The bottom wall plate is the bottom-most part of the wall. It is usually an 8-foot-long, 2×4 piece. Wall studs are nailed vertically to the bottom wall plate, and the wall plate itself is nailed (downward) into the subfloor, with nails even extending into the joist. All items except underlayment and floor covering rest under and are nailed to the bottom wall plate.
Signs You Need to Replace Your Subfloor
Moisture is typically the most common cause of subfloor damage. This can be from flooding, burst pipes, or leaks. Excessive humidity can also cause damage, as well as improper installation.
There are a few things to look out for that let you know it’s time to replace your subfloor:
- Squeaky floors
- Uneven floors
- A musty smell
- A loose toilet
- You can feel the floors move when you walk
Removing the Subfloor Under Walls
Removing the subfloor while the wall is in place is difficult because the subfloor is trapped under the wall. The process is similar to sliding out a book nailed to the ground while a person is standing on it. It can be done, but it takes some effort and patience. Remember that if you wish to keep the wall in place, you will only be able to remove part of the subfloor—to remove the subfloor across an entire wall, you will need to remove the wall. A safe width to remove is 14 inches since this represents the span between two joists or two studs.
While it may seem tempting to replace the subfloor from underneath if your home has access from the basement to this area, it should always be replaced from the top. Replace a water-damaged or otherwise structurally unsafe subfloor by removing the floor covering and underlayment above it, then cutting out the old subfloor and installing new material.
Before You Begin
At the electric service panel, turn off any circuits that run to the area where you will be removing the subfloor. Shut off any affected water lines. If you have intermediary water shut-offs, shut the water off there. If not, shut off water to the entire house at the main shut-off valve.
Read the full article here

