


Every autumn, one of our top priorities is putting the garden to bed for a long, cold winter. Learning how to prepare your shed for winter will help your garden buildings (and their contents) withstand the harsher weather ahead.
Whether used as a storage spot, a potting room or a garden retreat, for many of us, a shed is an extension of our home. We hate seeing our hard-earned garden shed ideas fall prey to the elements – shed rot is a real problem, and repairs can quickly stack up if your shed is left to fend for itself.
Luckily, performing a few simple maintenance tasks can ensure that your shed survives whatever weather the colder months throw at it. Here’s how to prepare your shed for winter.
1. Elevate your shed
The foundation of your shed is arguably the most important part of the structure, and lifting it up a little can go a long way to ensuring its longevity.
‘Keep your shed elevated on a sturdy foundation such as a concrete slab, gravel, or paving stones,’ advises Sam Jenkinson, shed expert at garden building retailer Tiger. ‘This reduces moisture contact with the wood and prevents rot.’
For added protection against moisture, lay a damp-proof membrane or plastic sheeting under the base. It’s also a good idea to ensure that an air gap is maintained under the base and around all of the sides. Check this area every now and then to ensure there isn’t a build up of debris growing around it.
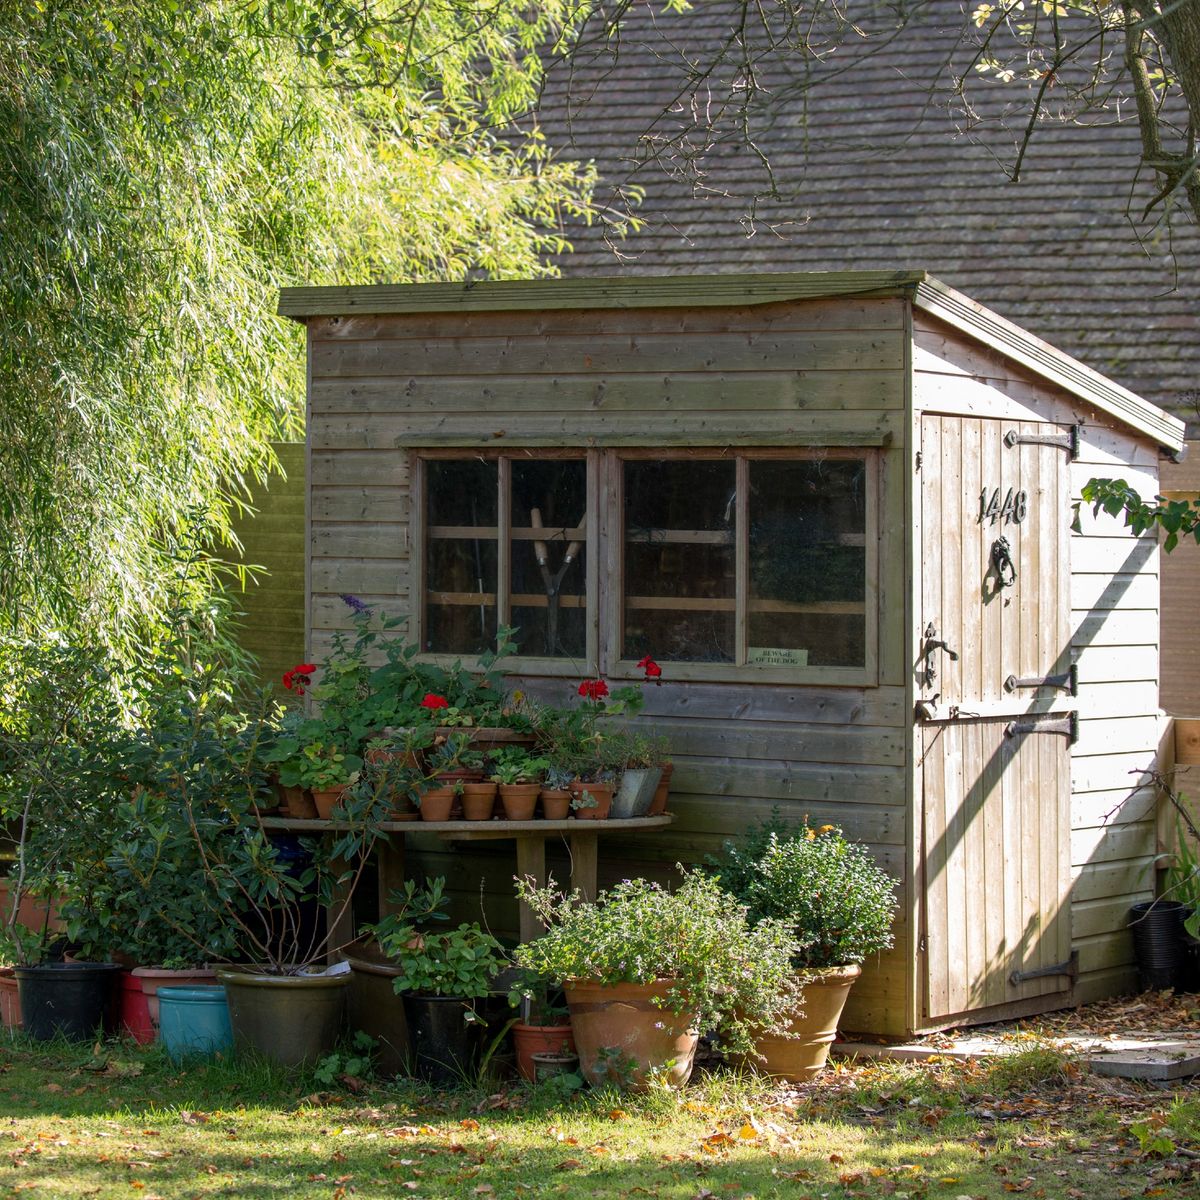
2. Check the windows and doors
The base isn’t the only part of your shed that can let moisture in. As most garden sheds are made of wood, the structures can warp over time, causing cracks and gaps to appear around doorways and windows. In fact, this is why you should never store these 5 things in the shed over winter.
‘Wood does shrink over time, so cracks can appear around frames, giving water an easy way in,’ say the outdoor building experts at GardenBuildingsDirect. ‘Make sure to fill any gaps and cracks and check them for signs of rot. If you find soft, rotted patches, remove them and fill them with wood filler.
3. Inspect the roof
You’ll want your shed’s roof to be sealed and secure before the winter downpours arrive, so check the roofing felt for wear and tear, and repair it as required.
‘Pay close attention to the edges and ridge line for any signs of wear and tear,’ Sam advises. ‘You can also repair shingles with sealant or replace damaged ones as required.’
4. Clear out the guttering
Next, check your guttering and clear out any leaves and debris. ‘Backed-up water in the gutters can lead to minor flooding,’ warn the experts at GardenBuildingsDirect. And with the onset of rainy weather heading our way, it’s better to complete this task sooner rather than later.
If you don’t already have gutters, consider installing them so that water can easily run away from the shed’s surface. You could even learn how to install a water butt to stock up on rainwater for next season’s plants.
5. Apply wood treatment
If you want to go the full mile while learning how to prepare your shed for winter, there are various wood treatments available on the market. If you’re familiar with how to weatherproof garden furniture, you’ll know that these products offer excellent protection against the elements. They’re often available in different colours, like paint, so you can refresh the look of your shed and waterproof it at the same time.
But before you apply the treatment, you’ll need to give your shed a clean. ‘Before applying any cleaning products, the first step is to remove any loose debris such as leaves, twigs, and dust,’ says Dr Jonathan Kirby, Roxil’s wood expert. ‘Use a stiff-bristled brush in the direction of the wood grain to tackle stubborn dirt and algae.’
Then, apply a wood treatment which suits the type of wooden shed you have.
Ronseal Weatherproof 10 Year Exterior Wood Paint Gloss
Cuprinol Garden Shades – Coral Splash
Roxil Wood Protection Cream
5. Keep it ventilated
To minimise condensation and dampness, you’ll need to ensure your shed is well ventilated. Static vents can be purchased and installed in the sides of a shed to maintain airflow, or you could open doors and windows whenever possible. Just make sure birds and other wildlife haven’t ventured inside before you close the shed up again.
6. Keep on top of mould
The inside of your shed is just as important as the outside when it comes to learning how to prepare your shed for winter.
If you notice any small mould growths appearing inside your shed, wipe it down with a cleaning solution like the Roxil Patio and Wood Cleaner, available at Amazon, as soon as you can to prevent it from spreading.
7. Oil the locks
Your shed’s locks are likely to seize up over time, especially during the worst of the UK’s weather. Squirt the lock and any metal fittings with oil to avoid having to battle with a rusty lock come springtime.
FAQs
How do I stop my shed from getting damp in the winter?
When it comes to avoiding dampness, ventilation is key. Installing air vents in the walls of your shed is a great long-term option. If you’re worried about insects coming inside, you cover the vents in bugproof mesh like the Biocare Insect Mesh from Amazon.
How do you winterize a shed?
Getting your garden ready for winter involves a lot of decluttering and maintenance checks. As well as checking the shed roof, windows and doors for signs of wear, you might want to sort the contents of your shed out, too, so you open the doors to a tidy space when spring arrives. You’ll also want to clean out the gutters, as mentioned above, and a lick of weatherproof paint won’t hurt, either.
Take this advice for how to prepare your shed for winter and it will still be ship-shape come springtime!
Read the full article here


