


Whether you’re already a gardening enthusiast or ready to pick up your first trowel, knowing how to plant gladiolus bulbs in pots will ensure the greatest chance of a stunning floral display.
While there are similarities for how to plant gladiolus bulbs in the ground, some pot-specific considerations and adjustments are necessary for the bulbs to thrive, so these key tips that will help ensure beautiful blooms year after year.
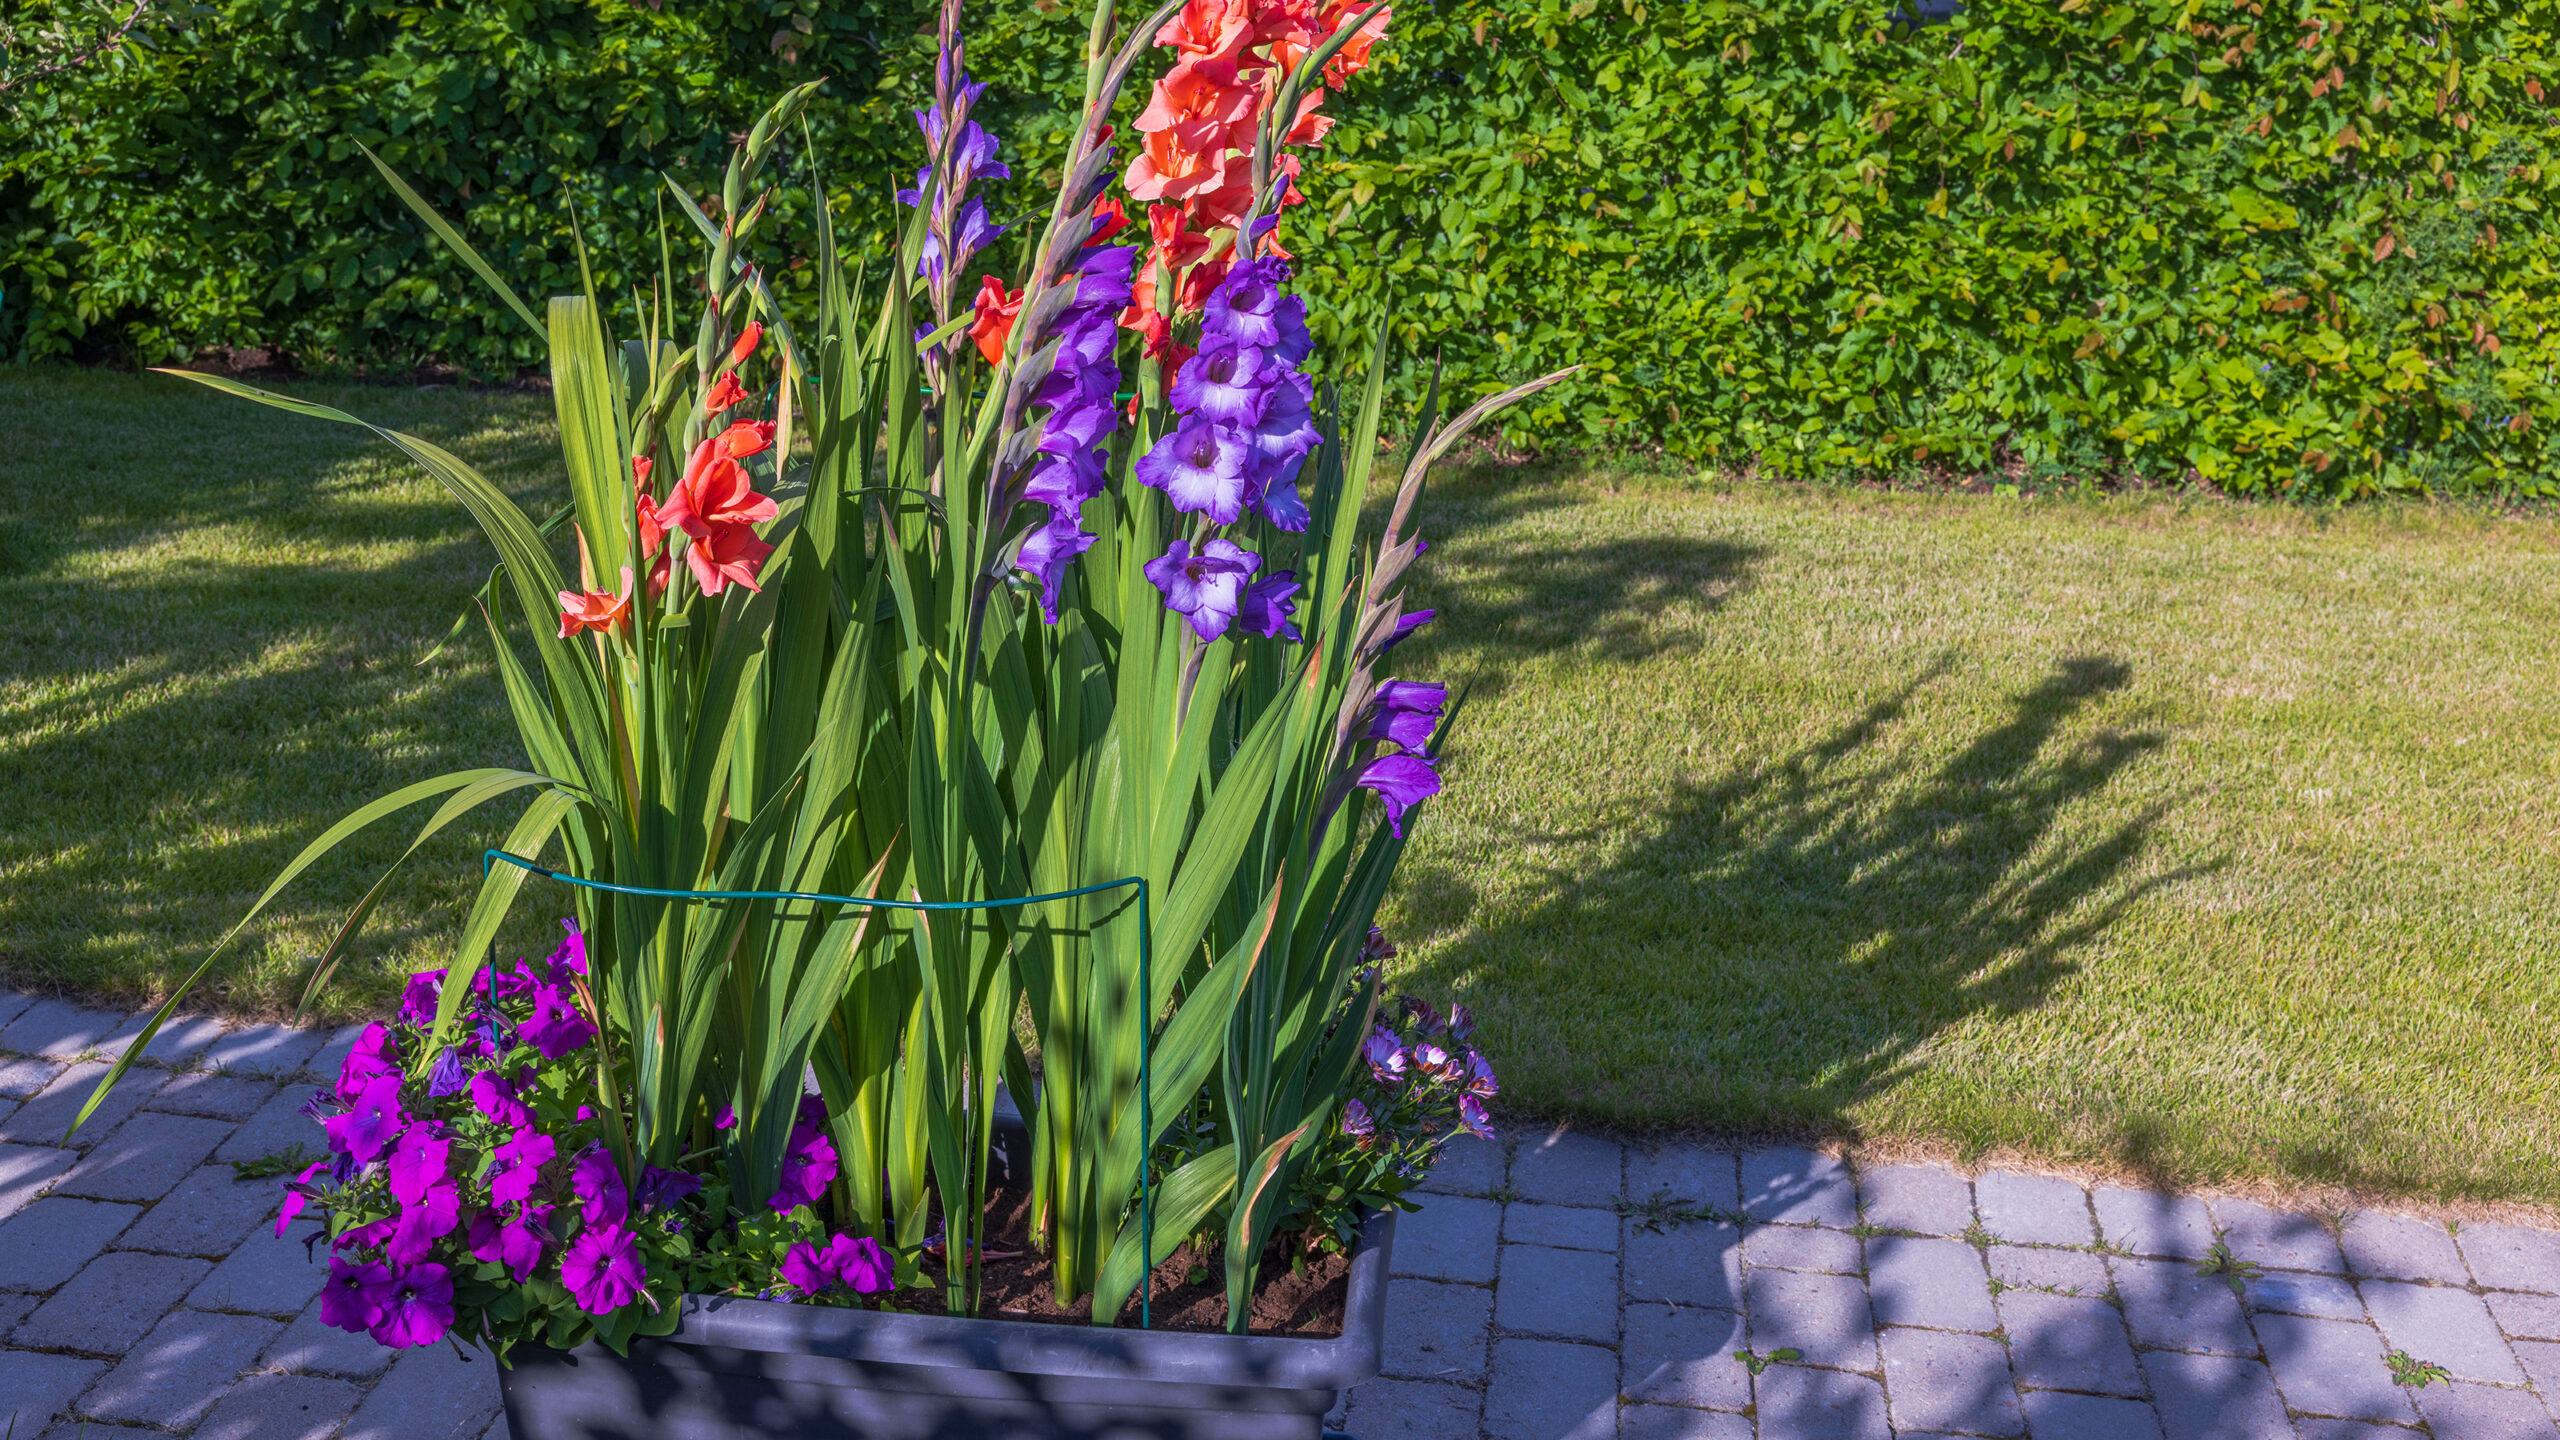
While there are some bulbs to avoid planting in pots, gladioli are not one of them. In fact, the opposite is true – gladiolus bulbs can thrive in pots, making them a great addition to your container garden ideas.
Gladiolus grow best in rich, free-draining soil, so if your garden is primarily heavy clay, then learning how to plant gladiolus bulbs in pots is the perfect way to introduce these blooms into your garden.
Another benefit of learning how to plant gladiolus bulbs in pots is when you can plant gladiolus bulbs. ‘You can start your gladioli in pots in March or April, but make sure you can put them somewhere bright and cold, but frost-free. Gladioli can be planted directly in the ground in May,’ explains expert plantswoman Sarah Raven.
You will need
Step-by-step
1. Choose the right pot
One of the best bulbs to plant in March, gladiolus bulbs can produce plants that range from 50cm to over 6ft tall. Due to the differences in size, it is important to choose the right size pot.
Larger varieties will require a larger pot in order to prevent them from toppling – at least a 40cm wide for the largest varieties – while smaller varieties can be grown in smaller pots or even window boxes.
2. Select the right soil
Unlike when planting in the ground, when growing flowers in pots, you have total freedom over the soil type. This means you can choose the best soil type for your gladiolus bulbs.
Like most bulbs, gladiolus thrive in free-draining soil. Most standard free-draining container compost will be suitable, and adding a handful of perlite will help encourage even better drainage.
However, if you want to create the optimum environment to plant gladiolus bulbs in pots, then consider bulb fibre compost – such as this Miracle-Gro Bulb Fibre Compost on Amazon.
This compost is made from hollow wood fibres and is more open than traditional compost. Since it’s free-draining, this reduces the risk of the bulbs rotting before they have a chance to grow. The fibres also facilitate fast and strong root growth and include enough nutrients for three months without supplementary feeding. It also reports to promote better flowering the following year.
Bulb compost should only be used when planting gladiolus bulbs in pots, as it will have little benefit when used in the ground.
3. Select gladioli bulbs
All varieties of gladioli can be grown in pots – meaning you have a lot of options from which to choose. Some of our favourite varieties to grow in pots include dwarf varieties, which can be planted alongside other bulbs such as freesias and zinnias for a beautiful summer display.
If you are only growing gladioli bulbs in a pot, look for taller gladioli that will make a beautiful statement.
Even if you want to add gladiolus to your border ideas, it can still be a good idea to start them in pots. ‘Starting gladiolus in pots is a good idea as you can move them inside if the temperatures dip again,’ explains Mark Dwelly, head gardener at Audley Villages.
Amazon
Oliwier’s Bulbs 20x Gladioli Nanus Nymph Bulbs
Growing to a height of 7-8cm, these are perfect for smaller pots or underplanting around a larger potted tree or plant.
Amazon
GardenersDream 60x Gladioli Seashore Bulbs
Growing to 60 to 90cm tall, Gladiolus Seashore is perfect for planting en-masse for a statement display.
Amazon
Oliwier’s Bulbs 20x Gladioli Nanus Mixed Bulbs
If you’re new to planting gladiolus bulbs in pots, then it buying a mixed selection is a great way to experiment with new colours, sizes and shapes. Put them all in the same large pot for a maximilist display.
If you want a shortcut to creating a pretty potted display, consider purchasing a drop-in bulb tray – like this Gladiolus and Freesia tray from You Garden.
In these systems, bulbs are contained within a biodegradable tray, with each bulb positioned at its ideal spacing. To plant, part-fill your pot, drop in the tray, cover with more compost and water. It couldn’t be easier.
4. Plant your gladiolus bulbs in pots
Once you’ve got your bulbs, compost and pot sorted, then it’s time to actually learn how to plant gladiolus bulbs in pots.
One of the most important things is to avoid planting your bulbs too deeply. Aim to plant the bulbs between 10 and 15cm below the surface of the compost. This applies whether you are planting dwarf gladiolus or tall varieties.
You also need to think about how many bulbs to plant in a pot. As a general rule of thumb, experts at Hart’s Nursery advise ‘planting 5 corms to a 20cm (8″) pot.’ This will create a beautiful display while also ensuring that each plant has enough space and nutrients to thrive.
You should have blooms between ten and fourteen weeks after planting your bulbs.
5. Water and feed
As with any plants grown in pots, watering and feeding are essential for success. Plants in pots dry out a lot quicker than plants in the ground, so they need more regular watering – especially in heatwaves, when you should look out for signs your plants are suffering from heat stress. Underwatering is one of the most common garden watering mistakes.
Experts from Hart’s Nursery recommend feeding your Gladioli with a diluted Tomato feed every 2 weeks. This Tomatorite feed from Amazon would work perfectly.
Aftercare
Gladioli are perennials, meaning that they will rebloom year after year. However, this is not guaranteed as a lot can happen over autumn and winter – including the bulbs getting eaten by squirrels, mice or slugs, or them rotting away after being left in waterlogged soil.
Planting gladiolus bulbs in pots solves a lot of these problems and increases the likelihood of reblooming the following year.
Once the gladiolus bulbs have finished flowering, deadhead the flowers. For spring-flowering varieties, leave the greenery to go yellow. This allows all the energy from the leaves to be stored in the bulbs for the following year’s growth. For summer-flowering varieties, cut the greenery back to a few inches tall.
Then move the pots into a frost-free place for overwintering – this should protect them from opportunistic squirrels and rodents. Experts at the RHS recommend that you reduce watering after flowering has finished, then keep the soil dry during winter. This will prevent the bulb from rotting. You can then resume watering in spring and bring the pot back into the garden.
Alternatively, if you want to replant the pot to create a winter display, let the greenery go yellow and then lift the bulbs. ‘In late autumn, when frosty and cold nights are likely to return, you should lift and dry the corms and store them over the winter in a frost-free shed/garage until ready to plant again next year,’ says experts from J. Parkers.
FAQs
Do gladioli grow well in pots?
Yes, gladioli do grow well in pots – especially if your garden soil isn’t conducive to growing bulbs. An added benefit of growing gladioli in pots, rather than the ground, is that if the temperature drops unexpectedly, you can move the pot into the greenhouse or shed to protect it from frost.
Should I soak gladiolus bulbs before planting in pots?
There is a lot of debate about whether you should soak spring bulbs before planting, and this question is also asked with regard to gladioli bulbs.
In general, most gardening experts, including Sarah Raven, don’t soak gladiolus bulbs before planting. ‘I tend not to soak most of my bulbs before planting,’ says Sarah. ‘It’s bound to rain at some point, so I’d suggest just giving them good a watering once planted.’
Can gladiolus be left in pots over winter?
Yes, gladiolus can be left in pots over winter. Simply cut off the flower head – so that it puts its energy back into the bulb rather than setting seed – and reduce watering. You can then move it into a dark, frost free location.
Once the greenery has gone brown, stop watering until the spring. Watering during the dormant period can lead to bulb rot.
Read the full article here


